Last Updated: September 6, 2023 by Flora Gibbins
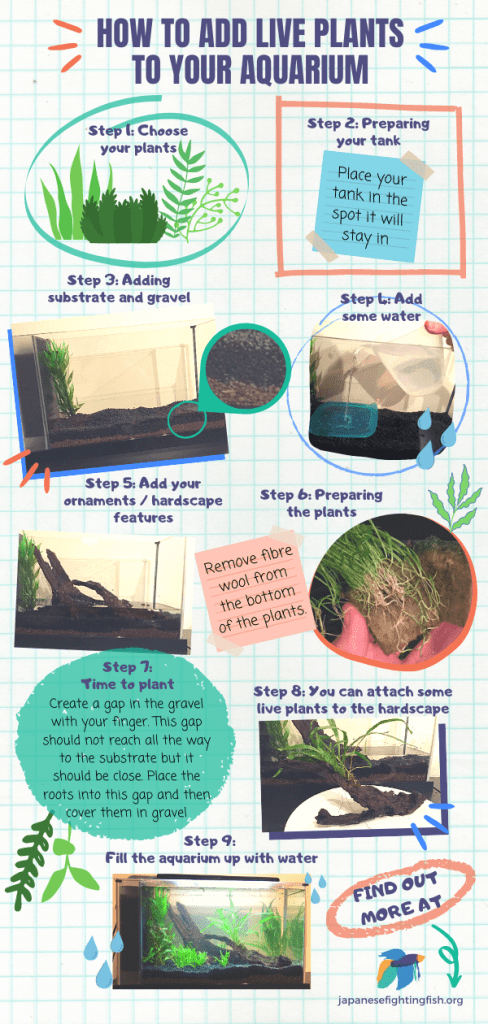
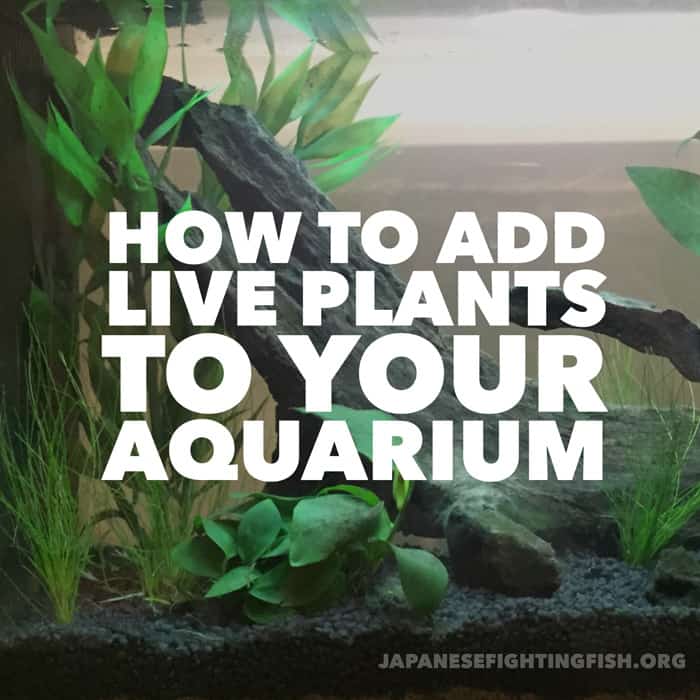
In this guide, we are going to go step-by-step and show you how easy it is to add live plants to your aquarium.
Live plants are great because there are so many benefits in having them in your betta fish tank.
[FREE DOWNLOAD]: How To Avoid The Top 5 Mistakes New Betta Owners Make
Primarily they help keep water conditions optimal by converting harmful chemicals into oxygen but they also reduce algae growth, look fantastic and are kinder to your betta fish’s fins (as opposed to sharp-edged plastic plants).
Contents
- Step-by-step guide to adding live plants for beginners.
- Step 1: Which live plants should I choose?
- Step 2: Preparing your tank.
- Step 3: Adding substrate and gravel.
- Step 4: Add some water.
- Step 5: Add your ornaments / hardscape features.
- Step 6: Preparing the plants.
- Step 7: Time to plant.
- Step 8: You can attach some live plants to the hardscape.
- Step 9: Fill the aquarium up with water
- Ongoing live plant aquarium care.
Step-by-step guide to adding live plants for beginners.
Having live plants does not have to be difficult. There are many easy to care for aquarium plants which is what we will focus on here.
Step 1: Which live plants should I choose?
Ask at your local reputable dealer. Some advanced plants will require adding additional CO2 to the water and high voltage lighting. Pick the right live plants and you can have a great looking tank and not have to deal with these requirements.
You should examine the plants in the pet store before buying. You shouldn’t buy old looking plants with yellow or rotting sections. Look for healthy green sturdy leaves.
Check out our top 5 list of live plants for your aquarium here. Some great beginner aquarium plants include java fern, amazon sword plant and anacharis.
Step 2: Preparing your tank.
The steps below will show how you can set up plants in a brand new aquarium. Not to worry if you already have you tank set up you will still be able to add live plants.
Place your tank in the final place it will be. (It’s going to be hard moving it after the following steps).
Step 3: Adding substrate and gravel.
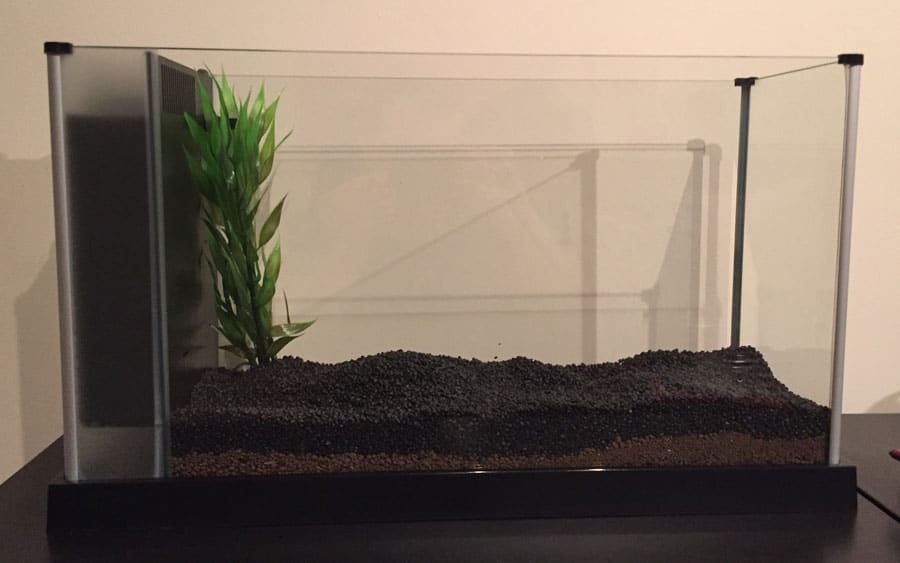
It is recommended that you choose a planted tank substrate. This will be necessary for most aquarium plants (there are some super easy care plants that don’t require this).
Plant growth substrate is added half-an-inch thick across the bottom of the tank (Check the back of the packet for more information).
Plant growth substrate is used as it absorbs nutrients from the water, making them available to the plants roots and allowing for long term growth.
Next add 1.5 inch of aquarium gravel on top of the substrate. This is used to hold the plants in place (and look great).

Gravel tip: Use a medium/fine gravel. Large gravel pieces allow for fish waste and uneaten food to slip between the stones meaning dirtier water.
Step 4: Add some water.
So we are adding enough water for the water line to be 4 inches high. This will make things easier as it keeps the plants sturdy / floating as you plant them.
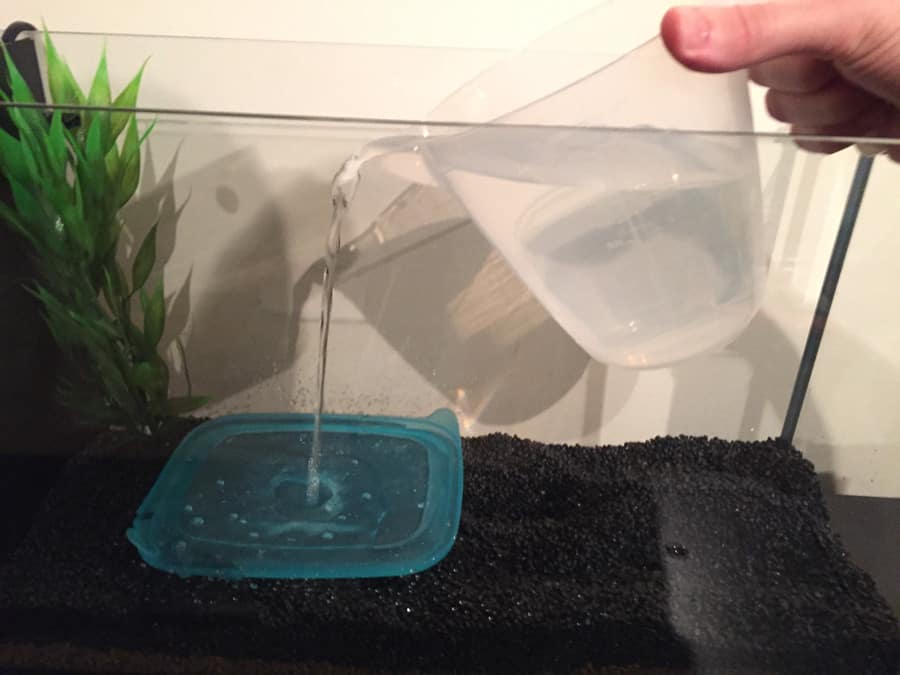
Water adding tip: Try not to disturb the gravel / substrate. A way to effectively combat this is by using a lid for a Tupperware / sandwich box. Place this flat onto the gravel and slowly pour the water onto the lid. This breaks the water ‘s power and limits the disturbance of the gravel and substrate.
[FREE DOWNLOAD]: How To Avoid The Top 5 Mistakes New Betta Owners Make
Step 5: Add your ornaments / hardscape features.
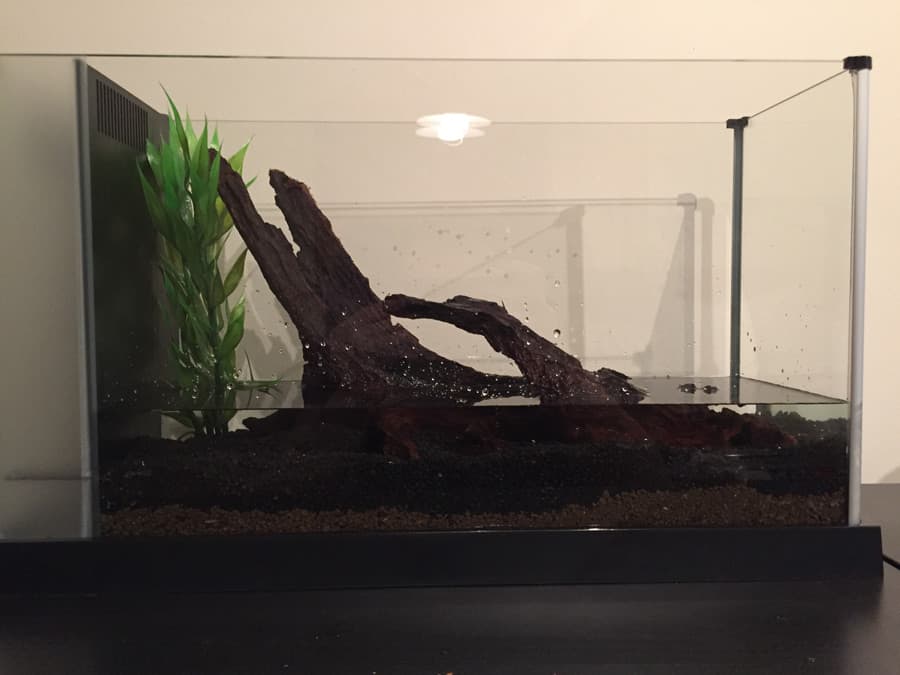
Next add the features of the tank so that you can plant around them and plan the final design.
Step 6: Preparing the plants.
Most of the time, when you buy live plants they will be provided to you in a pot and the roots have been kept in “fiber wool” or “rock wool”. This should be removed.
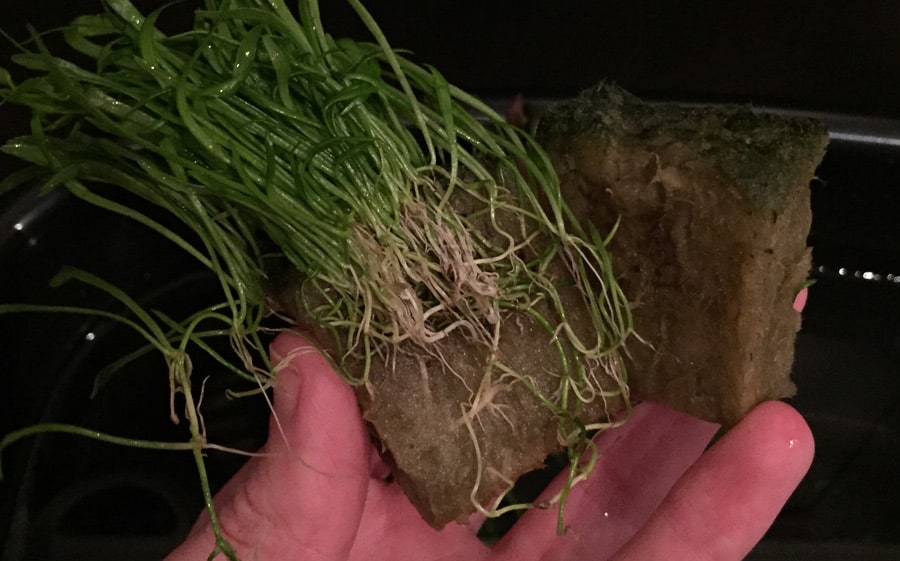
Be very careful as it will be attached to the roots of your plant – which are vital for plant survival.
Step 7: Time to plant.
How to add the live plants: Create a gap in the gravel with your finger. This gap should not reach all the way to the substrate but it should be close. Place the roots into this gap (sometimes this is best done with aquarium tweezers) and then cover them in gravel. The gravel is there to keep your plant roots and stem stable.
Planting tips: Add larger plants towards the back of the tank, add smaller to the front. This will look great and allow for a better viewing experience.
Step 8: You can attach some live plants to the hardscape.
Some easy-to-care-for live plants do not need to be planted into the gravel/substrate.
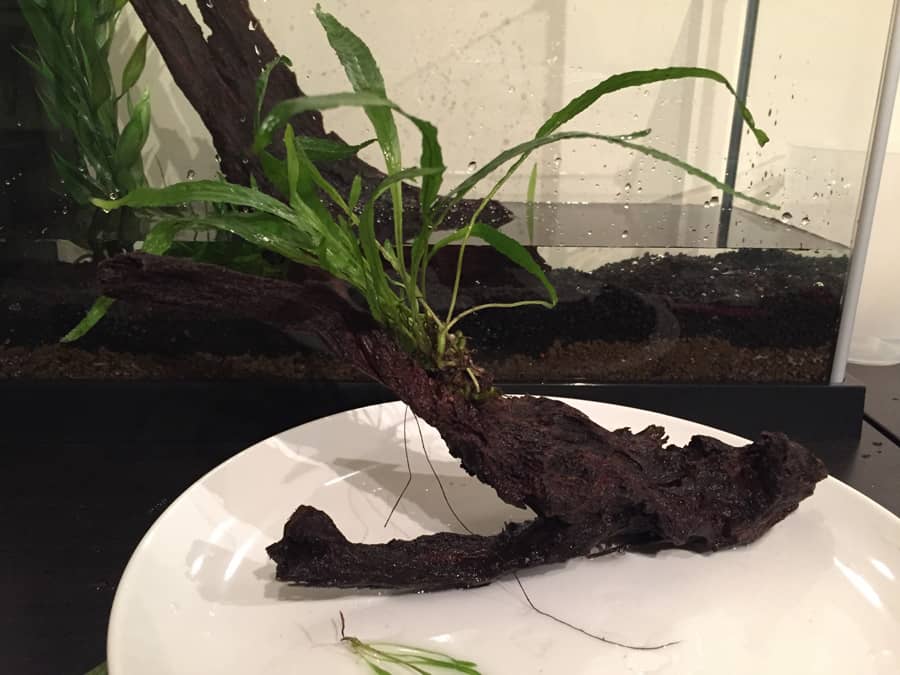
The image above shows how we have added a java fern plant to a piece of driftwood.
This was done by taking a small piece of household thread (brown works best) and tying the plant to the driftwood. Attaching the plants by the bottom/root section gives the best look.
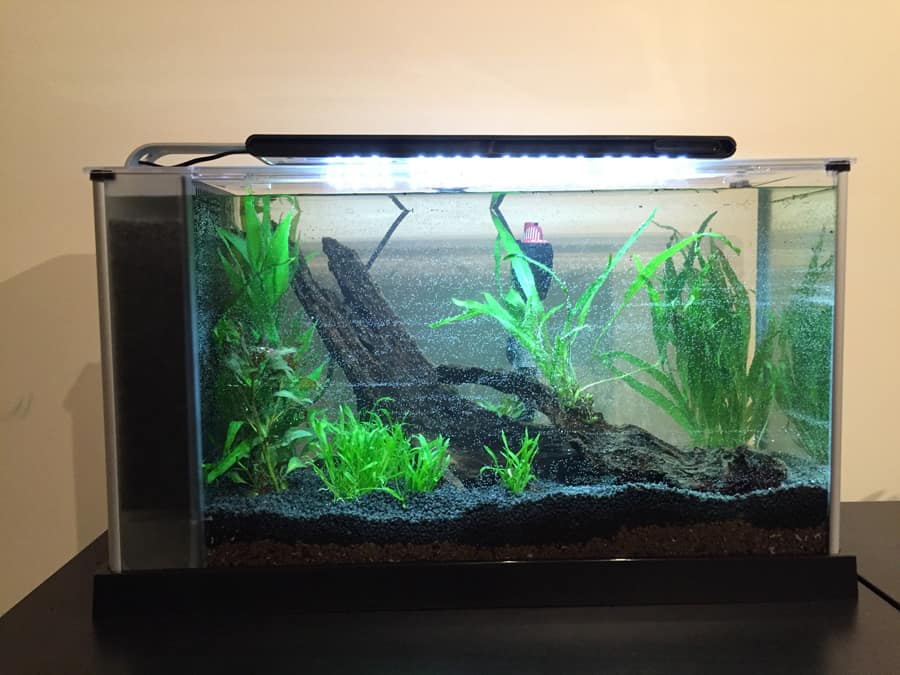
Step 9: Fill the aquarium up with water
Fill the fish tank up with water and turn on your filter and heater as your planting is complete.

Debris is normal after adding plants. Use a net to collect it.
Bubbles are also common. Look at all the oxygen.
Remember, tap water can kill fish as it contains Chlorine (and other chemicals). Tap water should always be conditioned.
If this is the first time the tank has been set up it should be fully cycled before adding fish.
And there you have it. Your new aquarium with live plants. Simple.
Ongoing live plant aquarium care.
For easy to care for plants, your standard aquarium light, substrate and the natural fish waste should be enough to keep your plants alive. It is also recommended to add a drop of aquarium plant fertilizer during water changes (check the back of bottle for correct amount, the larger the tank the more you will add).
Your betta fish is going to love the live plants in his aquarium! You will notice the difference in his happiness and behavior.